
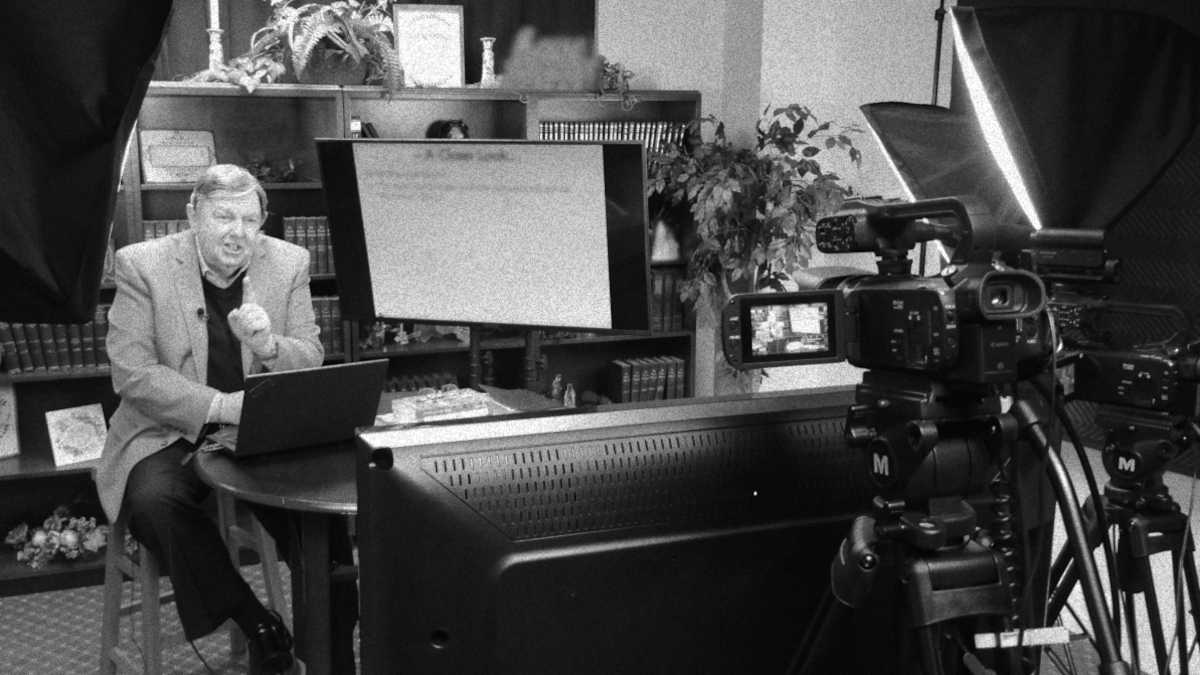
Since I started editing a weekly cable television show at work for the past couple months, I’ve learned a lot of about the process in ways that aren’t documented well or even discussed in my years at film school. I feel like if I can quickly summarize a couple of rarely communicated points on how to edit a cable TV show, I might help other editors or businesses just starting to research just what goes into producing small-time television content. Admittedly, some stations may be more forgiving then others but, I still wanted to address the subject nonetheless. Here are some of the technical aspects of TV show production that are commonly overlooked and may help you get a head start on production while reducing setbacks.
Target -23 LUFS
Broadcast television in the United States has to follow a number of guidelines in order to legally broadcast. One of those regulations has to do with the overall loudness of your programing. Remember the annoying bidding sites ads during the late 2000s that would get suddenly louder halfway through the commercial? The Commercial Announcement Loudness Mitigation (CALM) Act was introduced to curb such events and while the CALM Act was designed to target commercials, it’s still a good idea to follow such guidelines in your show as well. In the US, it’s common practice to target -23 LUFS (also known as LKFS) as an average loudness. What does this mean? In brief, LUFS is a weighted average of loudness that is designed to measure approximately how we humans experience loudness. If you quickly render the audio of your program and import it into a free program called Orban Loudness Meter, it can give you an idea of how loud your program is. When doing this, make sure your audio codec is the same as the codec you’re going to use in your final project as I’ve found that different audio encoding can have different effects on a piece’s loudness. Generally, I run most of my content under a relatively tame compressor and then amplify the program down in Premier’s master track in the audio track mixer to reach -23 LUFS. Using a limiter in the last process of the master track will prevent your audio from reaching 0 dB. Your station may already be sending all of their content through a compressor to reach -23 LUFS however, its still a good idea to make your content meet the standard as close as possible to provide the best viewing experience to your audience.
Use A Video Limiter
Another broadcast television guideline to follow is to keep the peak brightness of your programming under the max possible. Back in the early days of television it was actually possible to physically damage cameras and televisions by exposing them to extreme levels of brightness. Given that television equipment was incredibly expensive and it was pretty easy to accidently go over the level needed to damage equipment, the FCC (Federal Communications Commission) introduced “broadcast-safe” regulations on how bright your television signal could be were put in place to prevent one person’s carelessness in causing another person’s misfortune. Nowadays, it’s not as easy to damage television equipment in this way but, the regulation still persists. Thankfully, its simple to limit your video within Adobe Premier Pro. One tool that I use in my work to get this done is the adjustment layer. Technically, an adjustment layer can have any number of effects applied to it but, the specific effect that you should be looking for is the “Video Limiter” effect. Luckily, when you apply the video limiter with the default settings it doesn’t have a dramatic visual effect on your content. While it may not look much, if you check your unclamped video scopes you’ll find that your peak brightness will not surpass 100% which is perfect for broadcast television. You can also apply this effect at render time but, I like applying this effect when I’m editing so, I can get a better idea of what the final content will look like while editing.
Convert to An Interlaced Picture
There are two predominant standards on video formats in the television space: 720p and 1080i. Formats 1080p and beyond are not part of the standard yet but, we’re due to see 4K become the norm in a couple years’ time. Most stations, including those that I’ve worked with use 1080i. This is a departure from what I’ve come to learn. Back in high school I was stuck with DV tapes and working with 480i footage made me want to swear away interlacing entirely. I’ve worked in 23.97p footage in film school and 29.97p footage professionally. Today, I work with ENG style cameras that record in a format Cannon calls “Progressive Segmented Frame” commonly shortened as “PF”. This is a middle ground between the interlaced world and progressive world. PF footage is actually an interlaced signal containing a progressive image. This means that the footage will look progressive even when displayed in on an interlaced destination. This alone would be perfect for broadcast television if it weren’t for the fact that all of my motion graphics and supporting footage are in progressive format. Over the years of using these ENG cameras with PF format video I’ve gotten used to correcting the footage’s format in Adobe Premier by interpreting the footage as progressive so, I won’t get any artifacting when rendering my final project for the web. As a result, I’ve gathered a lot of progressive video footage that my higher ups want to use on television. I have found a workflow to get around this fact, however.
I edit primarily using nested sequences. I have different segments of the show – namely commercials and the “body” content – in their own sequences. I have the source footage, motion graphics, and these segmented sequences all be in the progressive format. However, when it comes to stitching all of these segments together in a completed episode, the final parent sequence I end up with is specifically set to be interlaced. Now, I could interlace this footage at render time but, as I mentioned in the video limiter section of this post, I like to have a good idea of what the final content will look like while editing.
Admittedly, this is just the tip of the iceberg about how to edit a cable TV show but, I hope this may help those who wish to know some of the details of editing a cable TV show. I’m sure to learn more about cable TV show production as I continue my endeavors at work so, I’m aware this isn’t a complete compendium on the subject and things will certainly change as technology and standards develop. Given the way things are progressing, we won’t be locked specific frame rates or resolutions in the near future but, its still best to follow the guidelines given by your station. If you have any questions or feel that I may have gotten something wrong in this post, please reach me at my “Contact” page.
