
I’ve had many clients want me to film themselves presenting something on a flat screen television and as I’ve come to find out this provides many challenges that one wouldn’t expect! There are many resources online for filming tube televisions but, there aren’t many resources for filming newer flat screen televisions. Let’s explore what I’ve learned in my travels in filming televisions together in this blog post.
Viewing Angles are Important
Before you begin shooting it’s important to purchase the correct TV for filming! When you’re looking to for a TV for your studio it’s important to consider the viewing angles of said TVs. A television with a wider viewing angle will give you more flexibility when shooting on set. Viewing angles are not a standardized spec that you can find on the television’s spec sheet so, you will have to check reviews of the TVs you’re considering to get an idea of how they’ll look in your studio. I’m not affiliated with them in anyway but, I found RTINGS.com as a reliable and exhaustive source to get an idea of a television’s real-world specs. Currently, they only have viewing angles for the horizontal axis of the TVs they review so, hopefully they will begin to cover the vertical axis as well as it is just as important when filming as the horizontal axis (we’ll cover why in a bit).
Don’t Go Too Big
One aspect of filming with a TV and a subject on the same set is that you just don’t want to go too big with the TV. I know it’s tempting to go big but, a large television will overpower the blocking on your set and diminish the importance of your subject. One of the reasons why people are tempted to go with a large set when purchasing a TV for filming is because they want to have the television as legible as possible. Don’t fall into this fallacy! When you have a two shot of a subject and a television together, it’s near impossible to balance legibility of the television with the prominence of the subject. Instead, it’s best to supplement the two shot with another shot of a raw capture of the television feed. Then, when editing, you can make a multi-camera sequence to speed up your workflow and provide natural cuts between the two shots. I will go into depth on how you can capture HDMI footage without the use of buggy software later on in this blog post. I’ve found that either 43” or 49” television seems to be the best balance between your subject and the TV. For smaller subjects you might find yourself going down to 32” but, I wouldn’t go over 49” for sure in any instance.
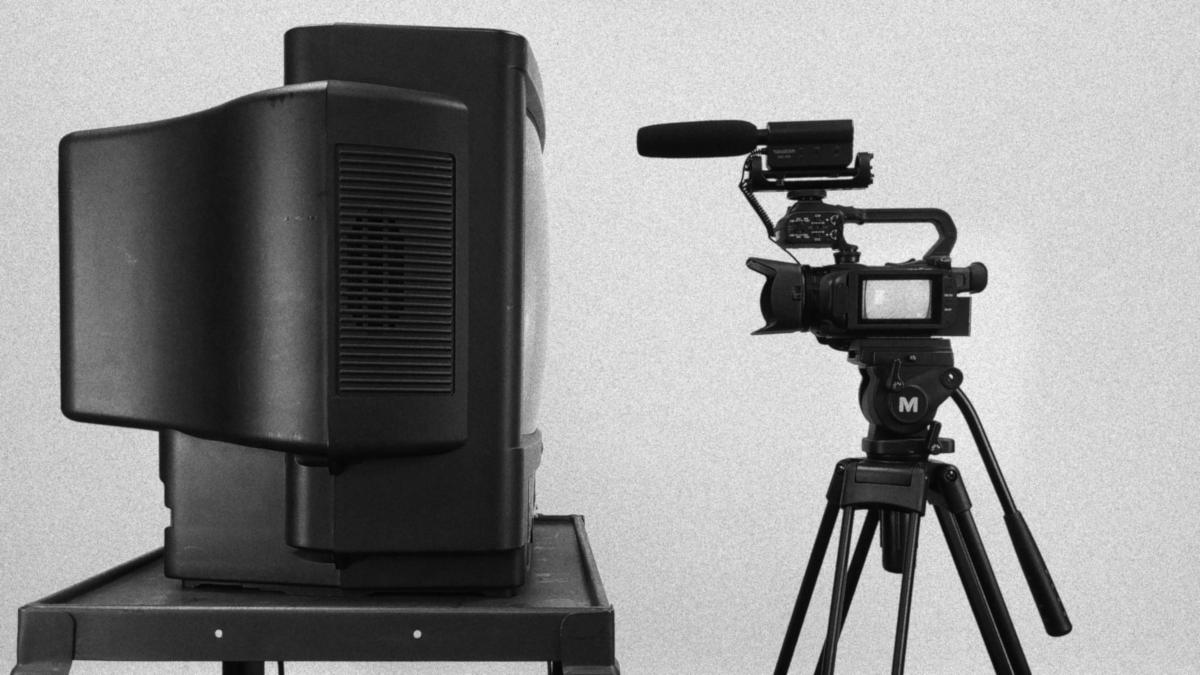
Capture a Raw Feed
As mentioned earlier, it’s important to capture a raw feed of your television screen so you can ensure that you get a clear picture of what your subject is trying to show. Getting a raw feed with a separate device will ensure the greatest legibility possible and you can even incorporate the feed into your multi-camera sequence so you can switch to its source seamlessly while editing. Its best to avoid any software to record PC screens as I’ve found them buggy and unreliable for long stretches of time. They are also a pain to set up compared to the fully hardware alternatives out there. Specifically, the hardware device that I use to record HDMI sources without the use of a PC is the AverMedia Live Gamer Portable C875. The Live Gamer Portable is incredibly useful because of it’s easy to use PC-free mode. All you need to do is give it USB power through the mini USB port, put in a SD card, flip the switch to PC-free mode, and press the big button on the top of the device to record. It can record video up to 17mbps but, be mindful that it can only take SD card sizes up to 32 GB. If you are recording from a PC I’ve found it useful to feed the PC’s microphone through the PC’s HDMI port. To do this you go to your “Sound Control Panel”, view the properties of your microphone, go to the “Listen” tab, and check the box that says “Listen to this device”. Just make sure you have your television muted before you do this or you will get a healthy dose of audio feedback!
Tilt the TV Down
Now, this was a game changer when I found this out. When filming with many lights and reflective surfaces its smart to think of your set as a game of pool. Glare happens when light is bounced from its source directly into the camera’s lens much like how a pool ball bounces off the walls of the pool table into a pocket. If you angle the object the light bounces off of you can successfully redirect the bounce to a different location—or if we want to continue with the pool analogy, miss your shot. On set you do not have a lot of freedom to angle a television horizontally but, you do have a lot of freedom to angle a television vertically. If you purchase a television stand that allows for a wide angle of vertical adjustment, you can angle your TV down to reduce glare at a great effect. Specifically, I use the TAVR Mobile TV Stand from Amazon as it allows me to skate our TV around our set as well as allow for a large degree of angle downward.
Light From Above
Keeping the pool analogy in mind, its useful to move the other end of the angle equation: the lights. This may be out of reach of most people but, if you have high ceilings you can invest in ceiling mounted lights. This has the advantage of clearing up floor space and giving yourself more angle between your lights and the camera but, comes with not insignificant downsides as well. First of all, you’ll be lighting your subject from a different angle in addition to your TV which can provide lighting effects that some may find undesirable. Also, keep yourself safe and make sure you mount your lights securely. Falling lighting is a serious problem and the higher you raise your lights the more dangerous they become. My final word on ceiling mounted lights would be to first look into if you can angle your television instead before looking into ceiling mounted lights.
Reduce Contrast and Lower Brightness
As technology advances televisions have been increasing their dynamic range faster then ever. With features such as HDR becoming big selling points for TVs nowadays this tip may seem confusing at first but, comes clear once you think about it further. I’ve found that if you do all you can to reduce the contrast of the image of your television you will improve how the image of the television is seen on your camera. If you reduce the contrast, increase the black level and turn off any and all HDR features your TV will look dull to the human eye but, will look much better on camera. This has to do with the simple fact that cameras—even some of the best cameras—are simply not as good at rendering dynamic range as the human eye. Keep note that I did not mention to reduce the brightness. Only reduce the brightness of your television if you are certain that your TV does not make use of PWM brightness control. This is where the TV pulses the LED lamps in the back of the TV to give the appearance of a darker image. As you might expect this may cause irritating strobing or moving bars on your camera if the frequency of the LED pulses are just right. RTINGS.com will make note of this in the “Motion” section of their reviews under “Flicker-free”. Although, as more and more TVs use cheap LED arrays for their backlight this issue may become difficult to curb in the future.
These are all the tips I have for filming modern-day flat panel TVs on your set. I wrote this blog because I noticed that there is a lot of information of filming old-school tube TVs but, not much on anything else. I hope you find this useful and be sure to reach me at my “Contact” if you have any questions or inquires. Happy filming!
